

Last year my husband convinced me that we needed chickens. If I am truly honest here, it did not take much convincing. I was on board the moment he said baby chickens. There is a lot to learn about raising chickens, so definitely do your research before going all in. We researched for many hours about how to raise chickens and looked at coop ideas on Pinterest. We finally decided on a coop/run combo. You can get a copy of our customized coop/run combo in my store front.
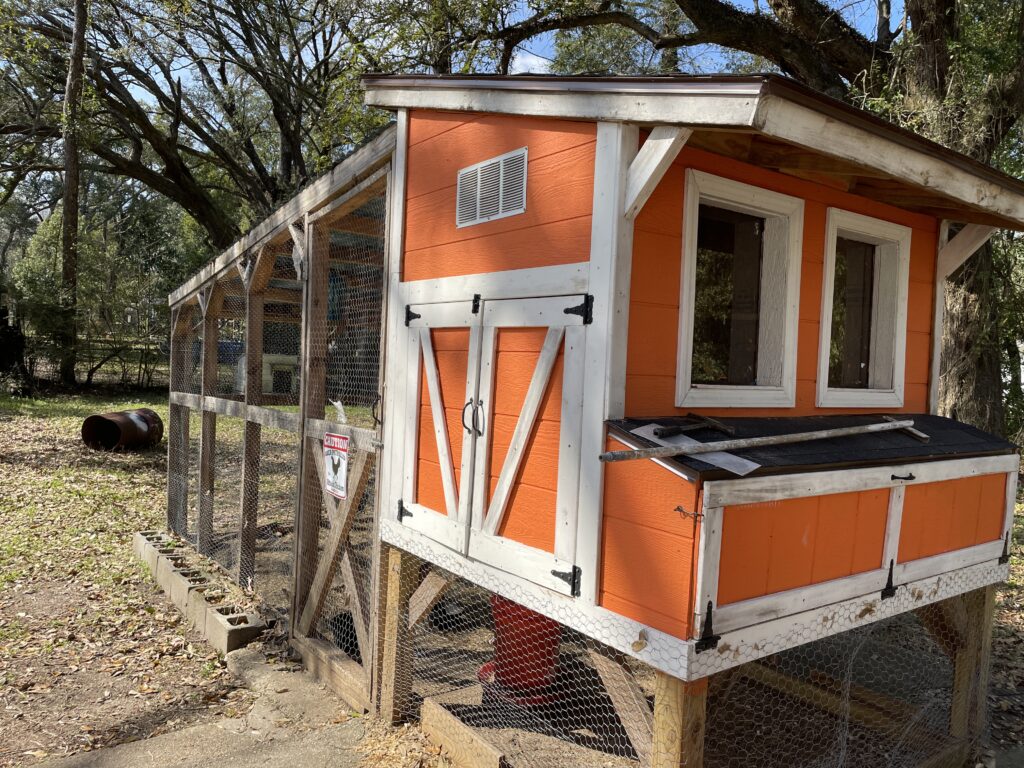
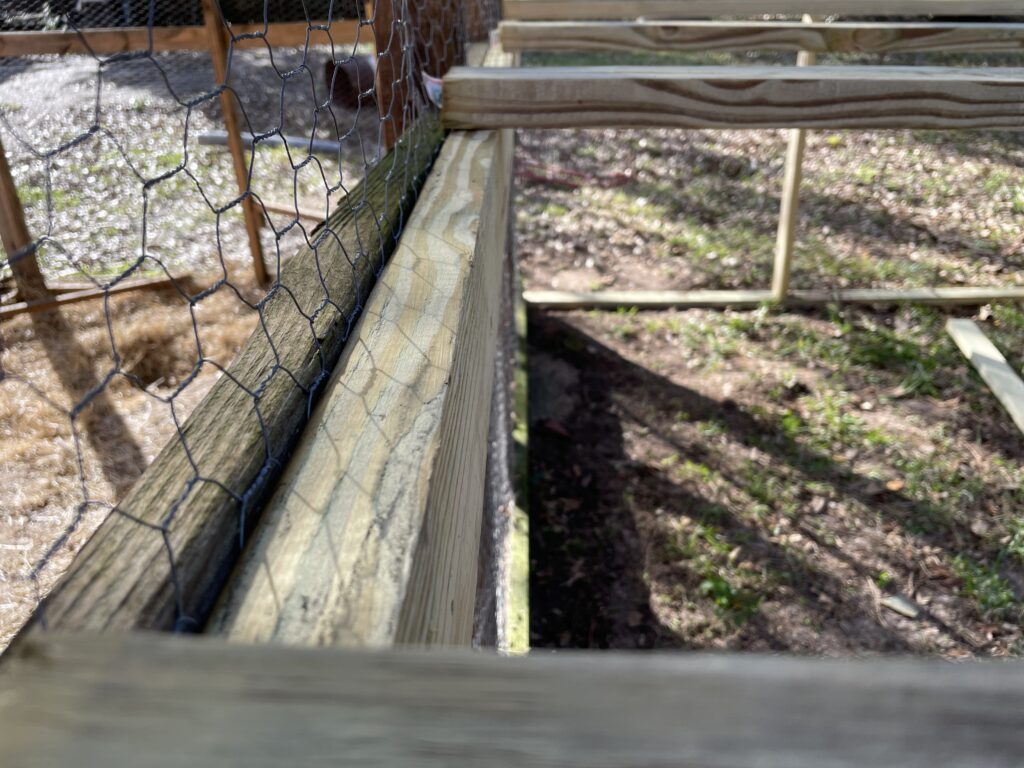
We wanted our coop/run combo to be off the ground for easy cleaning, maintenance, and to help protect against predators. That is also why we went with the clear corrugated roof. It will still let in sun and protect against other birds, and as a bonus, it helps keep the ground from getting really muddy when the rain storms come rolling through in the spring and summer months. Extra bonus is that the raised coop gives the chickens a shaded area during the hot summer months.
This year my husband mentioned getting more baby chickens. We wanted to learn how to integrate new chickens into an existing flock. Our coop can hold 10 chickens, so we had plenty of room, but I wanted to add more space to the run since we don’t free range them often.
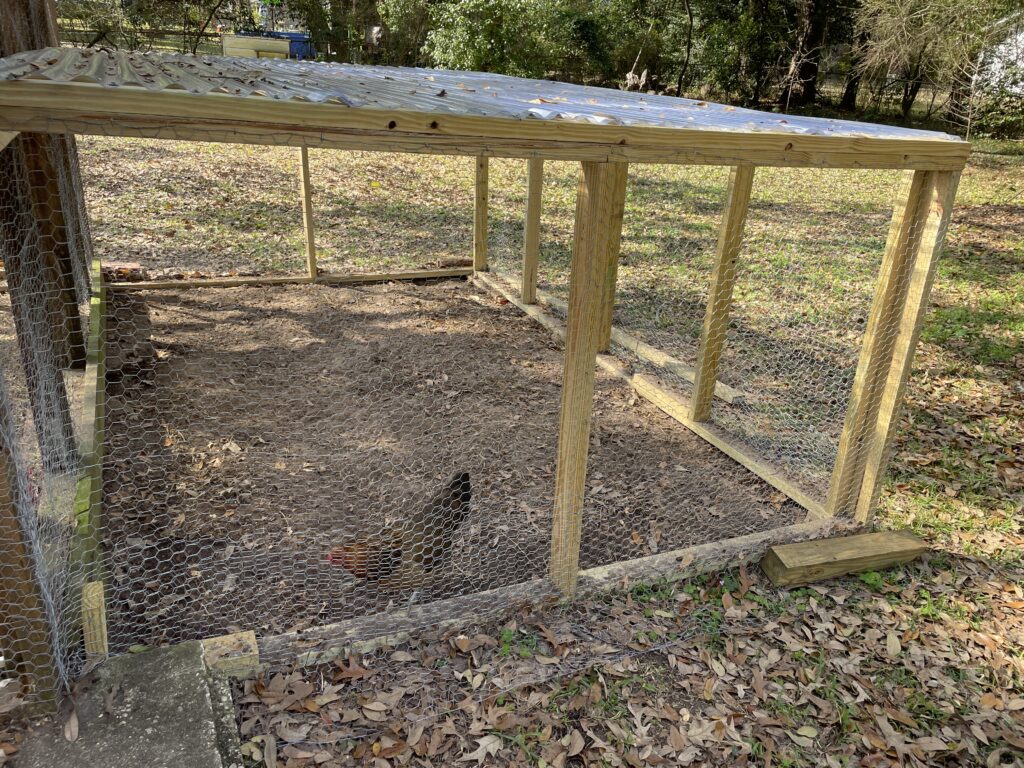
The run already is over 100 square feet, which is plenty of space for 10 chickens, and we decided to add an extra 96 square feet to the run, giving the chicken run a total of 222 square feet. That gives each chicken roughly 22.2 square feet each of space to scratch, run and play. I see happy chickens.
Expanding the Chicken Run
12 2x4x8 pressure treated wood
3 2x4x12 pressure treated wood
6 Clear Corrugated roof
#9×3 Construction screws
1 ⅝ inch Decking screws
1 ½ inch Roof screws
1 roll 4×50 chicken wire
¾ inch poultry net staples
Take five 2” x 4” x 8’ and cut into half. This will give you ten 2” x 4” x 4’ pieces.
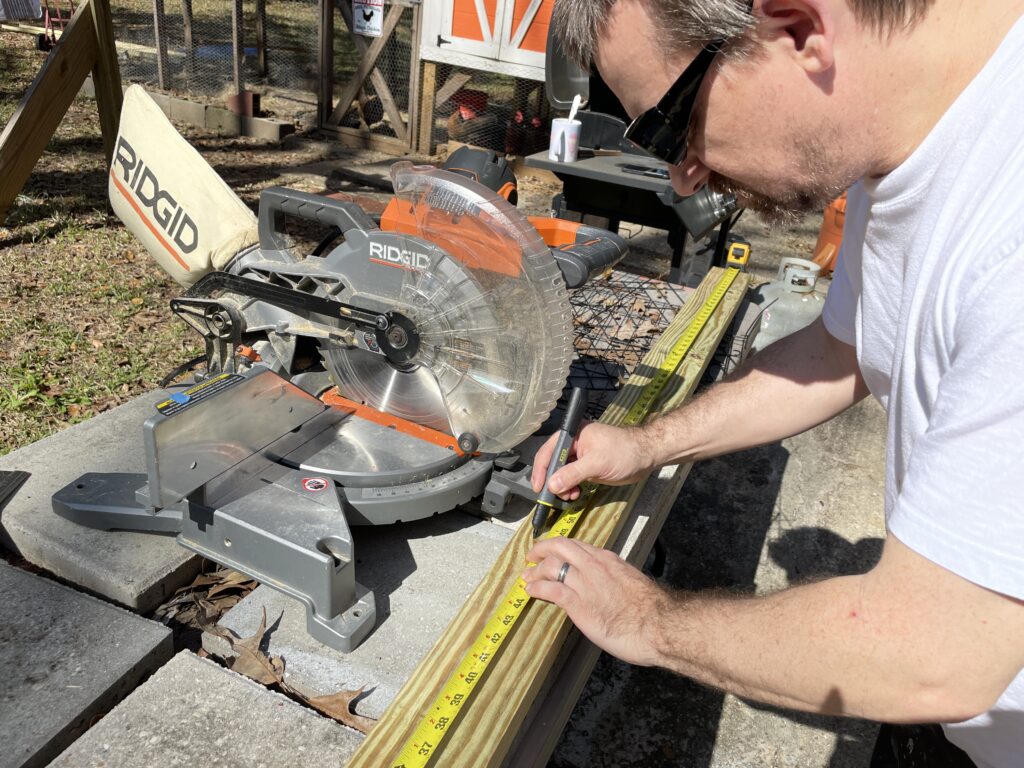
Take two 2” x 4” x 8’ and two 2” x 4” x 4’ Take one 2” x 4” x 4’ and attach it to the end of one 2” x 4” x 8’. Measure 48” down from the end of that 2” x 4” x 8’ and make a mark. This is where you will attach the second 2” x 4” x 4’. Take the second 2” x 4” x 8’ and attach it to the top of the two 2” x 4” x 4’. This will leave you with one open end that will be used to attach to the coop. Do this again giving you two shapes.
Take five 2” x 4” x 4’ and two 2” x 4” x 12’ and assemble into a complete rectangle. Attach one 2” x 4” x 4’ to each end of one 2” x 4” x 12’. Every 36” from the end attach another 2” x 4” x 4’. Take the last 2” x 4” x 12’ and attach to the top of the 2” x 4” x 4’. This should give you a rectangle measuring 2” x 4” x 12’ that’s 4 feet high.
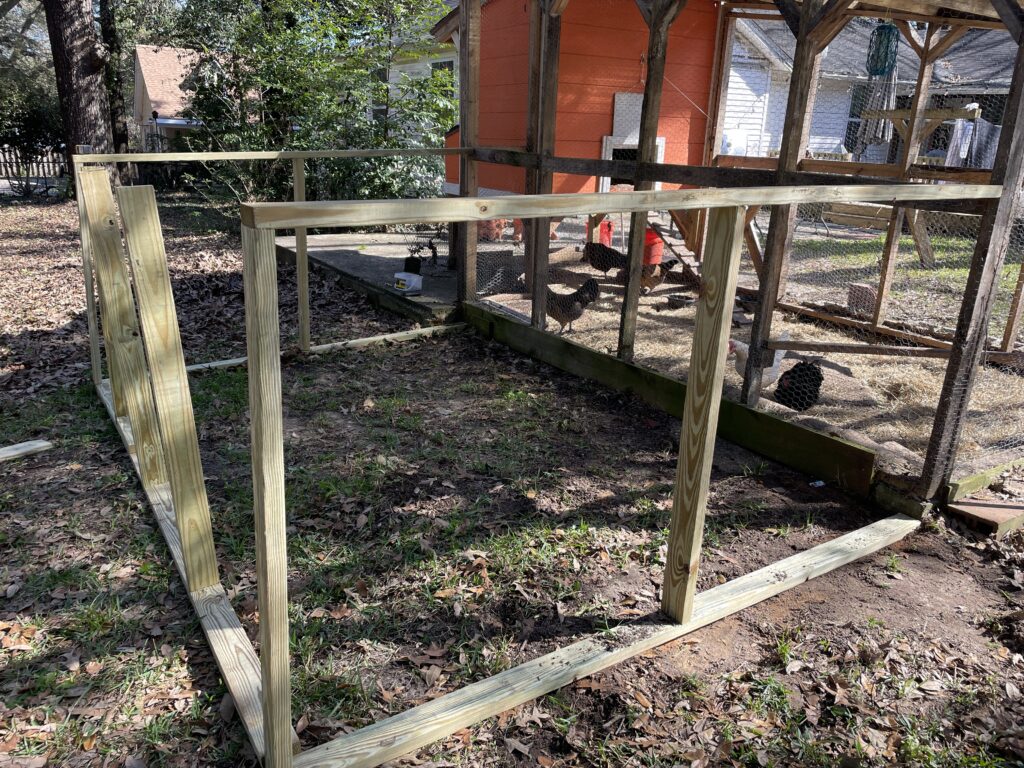
Attach the first small rectangle to the end of the coop using the 3” screws. Make sure everything is leveled along the way.
Attach the long rectangle to the small side using the 3’ screws. Make sure everything is leveled along the way.
Attach the last small rectangle to the long rectangle and the end of the coop using the 3” screws. Make sure everything is leveled along the way.
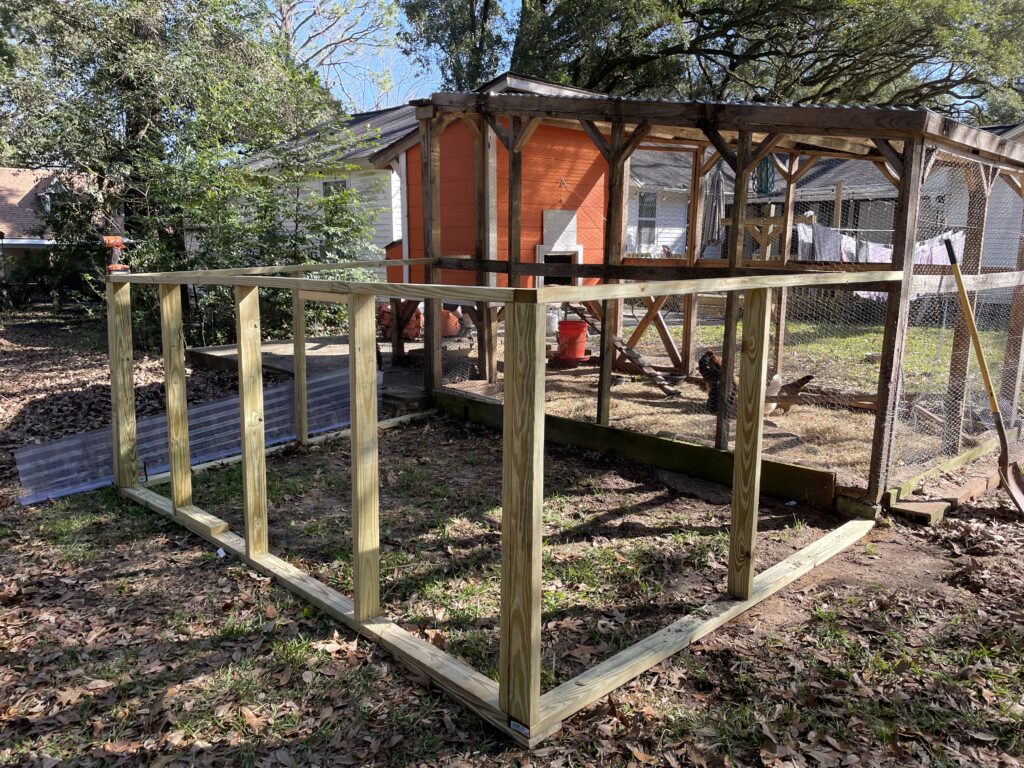
Take the third 2” x 4” x 12’ and attach it to the side of the coop at the 48” mark.
Take four of the 2” x 4” x 8’ and attach 2” x 4” x 12’ using the 3” screws.
Attach five 2” x 4” x 8’ to the 2” x 4” x 12’ evenly spacing. This creates the roof where the corrugated roof will be nailed into.

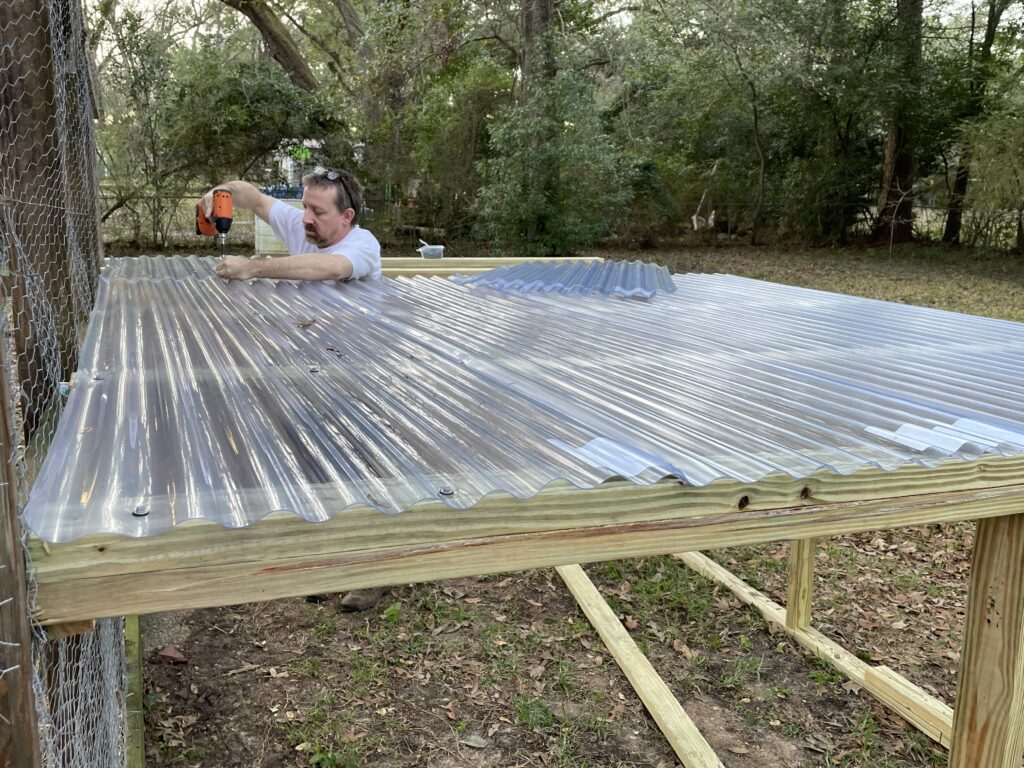
Take two corrugated boards and cut them into half. Attach the corrugated boards to the roof supports using roofing screws.
Starting at one end of the new structure attach the chicken wire or hard wire net using the poultry net nails. Be careful that the roll doesn’t curl up on you as you are nailing it in, so it’s best to have an extra hand when attaching the chicken wire or hard wire net. Once you go around once, go around a second time, only doubling up from two feet up. Giving you two feet that will stretch out from the bottom. This gives extra protection for your chickens.
Once the expansion is done take a pair of wire cutters and open 1-2 panels from the original coop that leads into the new expansion. Make sure to tap or bend any exposed edges in to protect the chickens.